When it comes to graphic design software, two names that often come up are CorelDRAW and Adobe. Both are powerful tools that offer a wide range of features and capabilities for designers. However, the question remains: which one is better? In this article, we will compare CorelDRAW and Adobe to determine which software reigns supreme in the world of design. We will look at factors such as ease of use, functionality, pricing, and more to help you make an informed decision on which software is right for you. So, whether you’re a beginner or a seasoned designer, read on to find out which software comes out on top.
Introduction to CorelDRAW
CorelDRAW is a popular graphic design software that offers a wide range of tools and features for creating stunning visual designs. It is widely used by professionals and beginners alike due to its user-friendly interface and powerful capabilities. In this article, we will explore what CorelDRAW is, its key features, and how it compares to Adobe software. We will also discuss the benefits of using CorelDRAW for graphic design projects.
What is CorelDRAW and its key features

CorelDRAW is a vector-based graphic design software developed by Corel Corporation. It allows users to create and edit various types of visual designs, including illustrations, logos, brochures, and more. The software provides a comprehensive set of tools and features that enable designers to bring their creative ideas to life.
One of the key features of CorelDRAW is its intuitive interface, which makes it easy for users to navigate and access the different tools and functions. The software also offers a wide range of drawing and editing tools, such as bezier curves, shapes, and text tools, that allow designers to create precise and detailed designs.
Another notable feature of CorelDRAW is its extensive library of templates and clipart, which provides users with a starting point for their designs. These templates can be customized and modified to suit the specific needs of the project. Additionally, CorelDRAW supports a variety of file formats, making it compatible with other design software and facilitating seamless collaboration with clients and colleagues.
Comparison between CorelDRAW and Adobe software
When it comes to graphic design software, Adobe is often considered the industry standard. However, CorelDRAW offers several advantages that make it a viable alternative for designers.
One of the main differences between CorelDRAW and Adobe software is the pricing model. CorelDRAW is available as a one-time purchase, while Adobe software operates on a subscription-based model. This means that CorelDRAW offers a more cost-effective solution for designers who prefer to own their software outright.
In terms of features and capabilities, CorelDRAW is comparable to Adobe software. Both offer a wide range of tools for creating and editing designs, and both support vector-based graphics. However, some users find CorelDRAW to be more intuitive and user-friendly, especially for beginners. CorelDRAW also has a reputation for being more stable and reliable, with fewer crashes and performance issues compared to Adobe software.
Benefits of using CorelDRAW for graphic design projects

There are several benefits to using CorelDRAW for graphic design projects. Firstly, the software provides a comprehensive set of tools and features that allow designers to create professional-quality designs. From drawing and editing tools to advanced typography and color management, CorelDRAW offers everything needed to bring creative ideas to life.
Secondly, CorelDRAW’s compatibility with other design software makes it easy to collaborate with clients and colleagues. The software supports a wide range of file formats, allowing seamless integration with other design tools and facilitating efficient workflow.
Furthermore, CorelDRAW’s extensive library of templates and clipart provides a valuable resource for designers. These pre-designed elements can be customized and modified to suit specific project requirements, saving time and effort in the design process.
In conclusion, CorelDRAW is a powerful graphic design software that offers a wide range of tools and features for creating stunning visual designs. It is a viable alternative to Adobe software, with its intuitive interface, cost-effective pricing model, and extensive library of templates. Whether you are a professional designer or a beginner, CorelDRAW provides the tools and capabilities needed to bring your creative ideas to life.## Getting Started with CorelDRAW
CorelDRAW is a powerful graphic design software that allows users to create stunning illustrations, logos, and layouts. Whether you are a beginner or an experienced designer, CorelDRAW provides a wide range of tools and features to help you bring your creative ideas to life. In this article, we will guide you through the process of getting started with CorelDRAW, from installation and setup to customizing the workspace and preferences.
Installation and Setup Process of CorelDRAW
Before you can start using CorelDRAW, you need to install the software on your computer. The installation process is straightforward and can be completed in a few simple steps.
First, you need to download the CorelDRAW installer from the official website. Once the download is complete, double-click on the installer file to begin the installation process. Follow the on-screen instructions to choose the installation location and select the desired components to install.
After the installation is complete, you will be prompted to activate your copy of CorelDRAW. Enter your product key or sign in with your Corel account to activate the software. Once activated, you are ready to start using CorelDRAW.
Overview of the User Interface and Tools in CorelDRAW

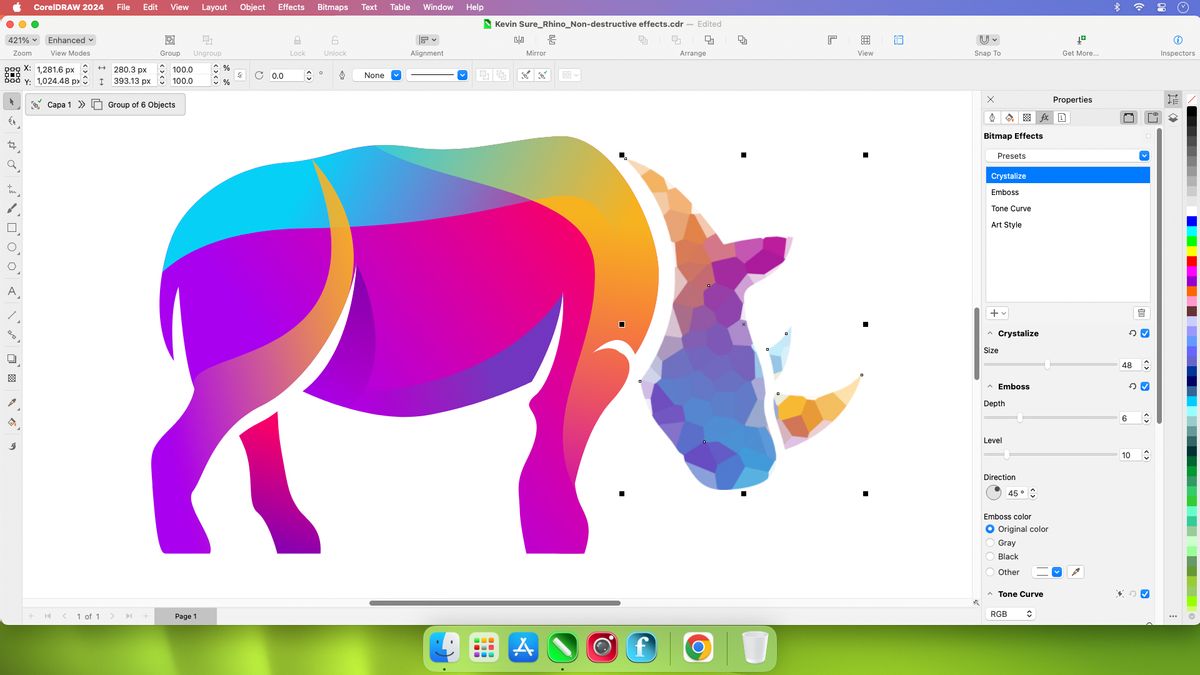
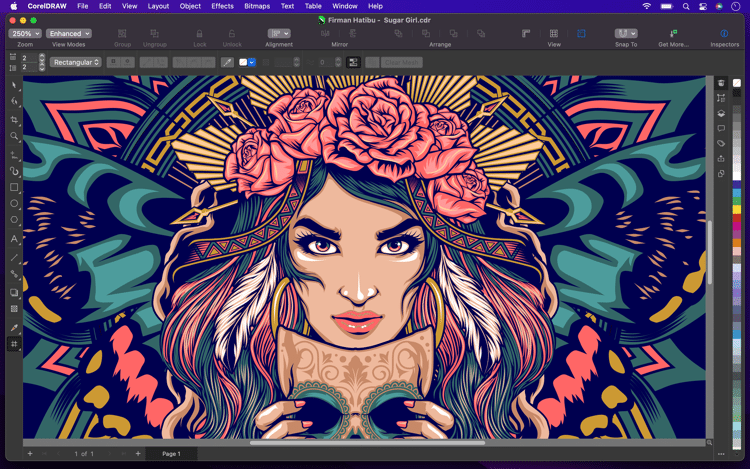
When you launch CorelDRAW, you will be greeted with a user-friendly interface that is designed to enhance your productivity. The main window consists of several panels and toolbars that provide quick access to various tools and features.
At the top of the window, you will find the standard menu bar, which contains familiar options such as File, Edit, and View. Below the menu bar, you will find the property bar, where you can adjust the settings and properties of selected objects.
On the left side of the window, you will find the toolbox, which contains a wide range of tools for drawing, editing, and manipulating objects. These tools include the shape tool, text tool, and fill tool, among others.
In the center of the window, you will find the drawing area, where you can create and edit your designs. You can zoom in and out of the drawing area using the zoom tool or by using the keyboard shortcuts.
On the right side of the window, you will find various panels, such as the color palette, object manager, and layers panel. These panels provide additional functionality and allow you to organize and manage your designs more efficiently.
Customizing Workspace and Preferences in CorelDRAW
One of the great features of CorelDRAW is the ability to customize the workspace according to your preferences. You can rearrange and resize the panels, toolbars, and windows to create a workspace that suits your workflow.
To customize the workspace, go to the Window menu and select Workspace. From here, you can choose from a variety of predefined workspaces or create your own custom workspace. You can also save and load workspaces for different projects or workflows.
In addition to customizing the workspace, you can also customize the preferences of CorelDRAW to enhance your productivity. To access the preferences, go to the Edit menu and select Preferences. Here, you can adjust various settings such as file handling, display, and performance.
Furthermore, CorelDRAW allows you to create and save custom keyboard shortcuts, making it easier to access frequently used tools and commands. To customize keyboard shortcuts, go to the Tools menu, select Options, and then click on Customization. From here, you can assign new shortcuts or modify existing ones.
In conclusion, getting started with CorelDRAW is a straightforward process. By following the installation and setup process, familiarizing yourself with the user interface and tools, and customizing the workspace and preferences, you can unleash your creativity and create stunning designs with ease. So, why wait? Start exploring the world of CorelDRAW today and let your imagination run wild!## Creating Graphics and Illustrations in CorelDRAW
Using basic shapes and lines to create designs

CorelDRAW is a powerful software that allows users to create stunning graphics and illustrations. One of the fundamental features of CorelDRAW is its ability to create designs using basic shapes and lines.
With CorelDRAW, you can easily draw shapes such as rectangles, circles, and polygons. These shapes can be manipulated and customized to fit your design needs. You can adjust the size, position, and rotation of the shapes to create unique and visually appealing designs.
In addition to basic shapes, CorelDRAW also provides a wide range of line tools. You can draw straight lines, curved lines, and even freehand lines. These line tools give you the flexibility to create intricate designs and illustrations.
Applying colors, gradients, and patterns to enhance graphics
Once you have created your basic shapes and lines, you can enhance your graphics by applying colors, gradients, and patterns. CorelDRAW offers a variety of tools and options to help you achieve the desired look for your designs.
With the color palette in CorelDRAW, you can choose from a wide range of colors to fill your shapes and lines. You can also create custom color palettes to match your branding or design theme.
Gradients are another powerful feature in CorelDRAW that can add depth and dimension to your graphics. You can apply linear, radial, or conical gradients to your shapes and lines, giving them a realistic and three-dimensional appearance.
CorelDRAW also provides a library of patterns that you can apply to your designs. These patterns can be used to create textures or decorative elements in your graphics. You can choose from a variety of pre-designed patterns or create your own custom patterns.
Utilizing advanced drawing tools and effects in CorelDRAW

In addition to basic shapes, lines, colors, gradients, and patterns, CorelDRAW offers a range of advanced drawing tools and effects to take your graphics and illustrations to the next level.
One of the advanced drawing tools in CorelDRAW is the Bezier tool. This tool allows you to create smooth and precise curves by manipulating control points. With the Bezier tool, you can create complex shapes and illustrations with ease.
CorelDRAW also provides a variety of effects that you can apply to your designs. These effects include drop shadows, transparency, and distortions. By applying these effects, you can add depth, realism, and visual interest to your graphics.
Another useful feature in CorelDRAW is the ability to work with layers. Layers allow you to organize and manage different elements of your design separately. You can easily rearrange, hide, or edit individual layers, making it easier to work on complex designs.
In conclusion, CorelDRAW is a versatile software that offers a wide range of tools and features for creating graphics and illustrations. Whether you are a beginner or an experienced designer, CorelDRAW provides the necessary tools to bring your creative vision to life. From basic shapes and lines to advanced drawing tools and effects, CorelDRAW has everything you need to create stunning and professional-looking designs.## Advanced Techniques in CorelDRAW
4.1 Working with layers and object management in CorelDRAW
In CorelDRAW, layers play a crucial role in organizing and managing your design elements. They allow you to work on different parts of your design separately, making it easier to edit and modify specific elements without affecting others. Here are some advanced techniques for working with layers in CorelDRAW:
4.1.1 Creating and managing layers

To create a new layer, go to the “Layers” panel and click on the “New Layer” button. You can then name the layer and set its properties, such as color and visibility. To manage layers, you can use the options available in the “Layers” panel, such as rearranging the order of layers, locking or hiding layers, and adjusting their opacity.
4.1.2 Using layer effects
Layer effects in CorelDRAW allow you to apply various effects to your design elements, such as drop shadows, glows, and bevels. To apply a layer effect, select the desired object or group of objects, go to the “Effects” menu, and choose the effect you want to apply. You can then customize the effect settings to achieve the desired result.
4.1.3 Working with layer masks
Layer masks are powerful tools that allow you to control the visibility of specific parts of a layer. By using layer masks, you can create complex designs with seamless transitions and blend different elements together. To add a layer mask, select the layer you want to mask, go to the “Object” menu, choose “Mask,” and then “Create.” You can then use various drawing and editing tools to modify the layer mask.
4.2 Incorporating text and typography in graphic designs
Text and typography are essential elements in graphic design, and CorelDRAW provides a wide range of tools and features to help you incorporate them effectively. Here are some advanced techniques for working with text and typography in CorelDRAW:
4.2.1 Creating artistic text
Artistic text in CorelDRAW allows you to create text objects with creative and decorative effects. To create artistic text, select the “Artistic Text Tool” from the toolbox, click on the canvas, and start typing. You can then customize the font, size, color, and other properties of the text using the options available in the “Properties” panel.
4.2.2 Applying text effects
CorelDRAW offers a variety of text effects that can enhance the visual appeal of your designs. You can apply effects such as shadows, outlines, distortions, and 3D effects to your text. To apply a text effect, select the text object, go to the “Effects” menu, and choose the desired effect. You can then adjust the effect settings to achieve the desired result.
4.2.3 Working with typography tools
CorelDRAW provides advanced typography tools that allow you to fine-tune the appearance of your text. You can adjust character spacing, line spacing, kerning, and other typographic parameters to achieve the desired visual balance. To access the typography tools, select the text object, go to the “Text” menu, and choose the desired tool.
4.3 Applying special effects and filters to enhance illustrations
Special effects and filters can add depth, texture, and visual interest to your illustrations in CorelDRAW. Here are some advanced techniques for applying special effects and filters:
4.3.1 Using the Effects menu
The Effects menu in CorelDRAW offers a wide range of effects and filters that you can apply to your illustrations. From artistic effects like oil painting and watercolor to distortion effects like twirl and ripple, you can experiment with different effects to achieve the desired look. To apply an effect, select the object or group of objects, go to the “Effects” menu, and choose the desired effect.
4.3.2 Applying lens effects
Lens effects in CorelDRAW allow you to simulate the look of different camera lenses and add realistic depth to your illustrations. You can apply effects like fish-eye, zoom, and perspective to create unique visual effects. To apply a lens effect, select the object or group of objects, go to the “Effects” menu, choose “Lens” and then select the desired lens effect.
4.3.3 Using the PowerClip feature
The PowerClip feature in CorelDRAW allows you to place one object inside another and apply special effects to the contained object. This feature is particularly useful for creating complex illustrations with intricate details. To use the PowerClip feature, select the object that will contain the other object, go to the “Object” menu, choose “PowerClip,” and then select the object to be placed inside.
By mastering these advanced techniques in CorelDRAW, you can take your graphic designs to the next level. Experiment with different features and tools to unleash your creativity and create stunning illustrations and designs.## Exporting and Sharing Designs from CorelDRAW
5.1 Saving and Exporting Designs in Different File Formats
When working with CorelDRAW, it is essential to understand how to save and export your designs in various file formats. This flexibility allows you to share your work with others who may not have access to CorelDRAW or may require a different file format for their specific needs.
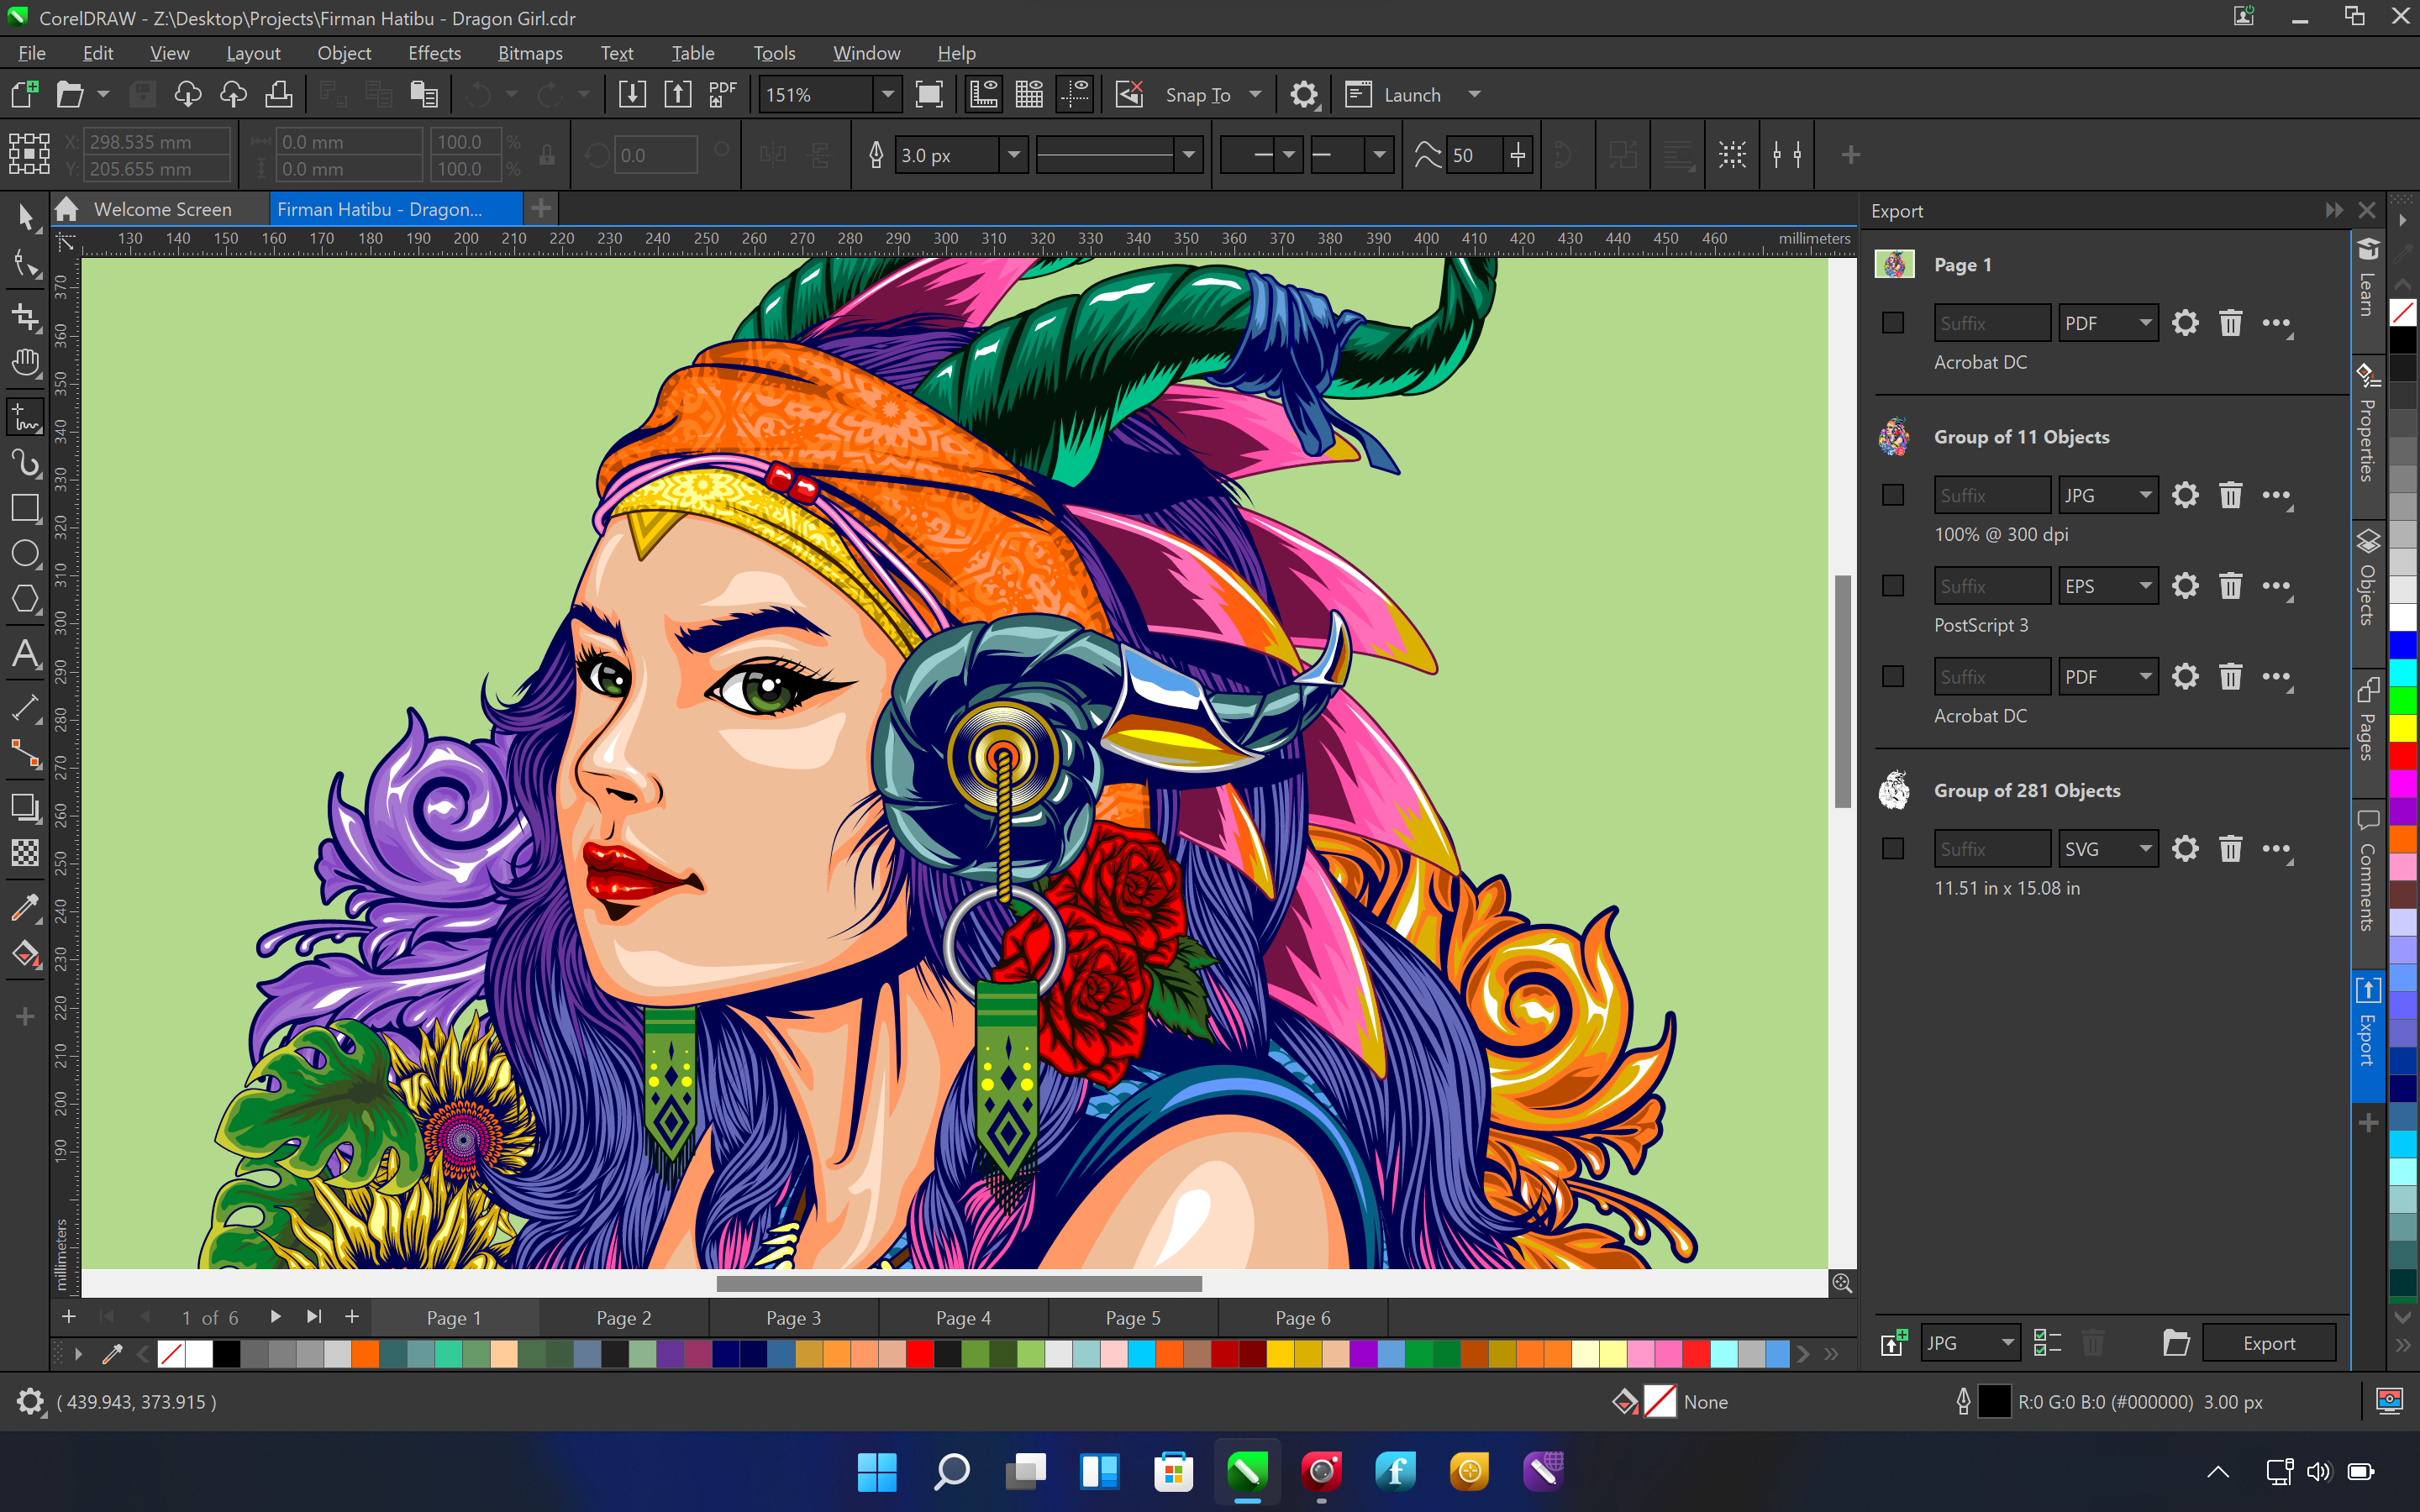
CorelDRAW provides a wide range of file formats to choose from when saving or exporting your designs. Some of the common file formats include:
- CorelDRAW (.cdr): This is the default file format for CorelDRAW and is recommended if you plan to continue working on your design in CorelDRAW in the future. It preserves all the layers, objects, and effects of your design.
- Adobe Illustrator (.ai): If you need to share your design with someone who uses Adobe Illustrator, saving your file in this format ensures compatibility between the two software.
- Encapsulated PostScript (.eps): EPS is a widely supported file format that can be used for both print and digital purposes. It is commonly used in the printing industry and is compatible with various design software.
- Portable Document Format (.pdf): PDF is a versatile file format that can be easily viewed and printed on different devices and operating systems. It is widely used for sharing designs online or sending them for professional printing.
- Scalable Vector Graphics (.svg): SVG is a web-friendly file format that allows your design to be displayed at any size without losing quality. It is commonly used for web graphics and animations.
- JPEG (.jpg) and PNG (.png): These are raster file formats commonly used for web graphics and digital images. While they do not preserve the vector properties of your design, they are suitable for sharing designs that do not require further editing.
To save or export your design in CorelDRAW, go to the “File” menu and select the “Save As” or “Export” option. Choose the desired file format from the list and specify the location where you want to save the file. You may also have the option to adjust settings specific to each file format, such as image quality or compression.
5.2 Printing Options and Considerations in CorelDRAW
CorelDRAW offers a range of printing options and considerations to ensure your designs are accurately reproduced on paper. Whether you are printing your design at home or sending it to a professional printing service, understanding these options will help you achieve the desired results.
Before sending your design to print, it is crucial to check the following:
- Page Size and Orientation: Ensure that the page size and orientation in CorelDRAW match the intended print size. You can adjust these settings in the “Layout” menu or by using the Page Setup dialog box.
- Bleed and Trim Marks: If your design extends to the edge of the page, it is essential to include a bleed area to account for any slight misalignment during the trimming process. CorelDRAW allows you to add bleed and trim marks to your design, ensuring a professional finish.
- Color Mode: Depending on the printing method and requirements, you may need to adjust the color mode of your design. CorelDRAW supports both RGB and CMYK color modes, with CMYK being the standard for professional printing.
- Resolution: For high-quality prints, it is crucial to set the resolution of your design appropriately. The recommended resolution for print is typically 300 dots per inch (dpi). You can adjust the resolution in the “Image” menu or by using the Image Resolution dialog box.
Once you have ensured that your design is set up correctly for printing, you can proceed to print directly from CorelDRAW or save it as a print-ready file format, such as PDF or EPS, for professional printing.
5.3 Sharing Designs Online and Collaborating with Others using CorelDRAW
In today’s digital age, sharing designs online and collaborating with others has become increasingly important. CorelDRAW offers several options for sharing your designs and collaborating with others, making it easier to work together on projects.
One of the most convenient ways to share your designs is by saving them in a widely supported file format, such as PDF or JPEG. These formats can be easily shared via email or uploaded to online platforms for others to view and download.
CorelDRAW also provides a built-in collaboration feature called CorelDRAW.app. This web-based application allows you to access and edit your CorelDRAW files from any device with an internet connection. You can share the link to your design with others, enabling them to view and collaborate on the project in real-time.
Additionally, CorelDRAW integrates with popular cloud storage services like Dropbox and Google Drive, allowing you to save your designs directly to the cloud and share them with others. This ensures that everyone involved in the project has access to the latest version of the design, promoting seamless collaboration.
In conclusion, CorelDRAW offers a range of options for exporting, printing, and sharing your designs. By understanding the different file formats, printing considerations, and collaboration features available in CorelDRAW, you can effectively communicate your ideas and work together with others to bring your designs
What is CorelDRAW and its key features image widget